New Developments on Cutting Up a Pineapple!

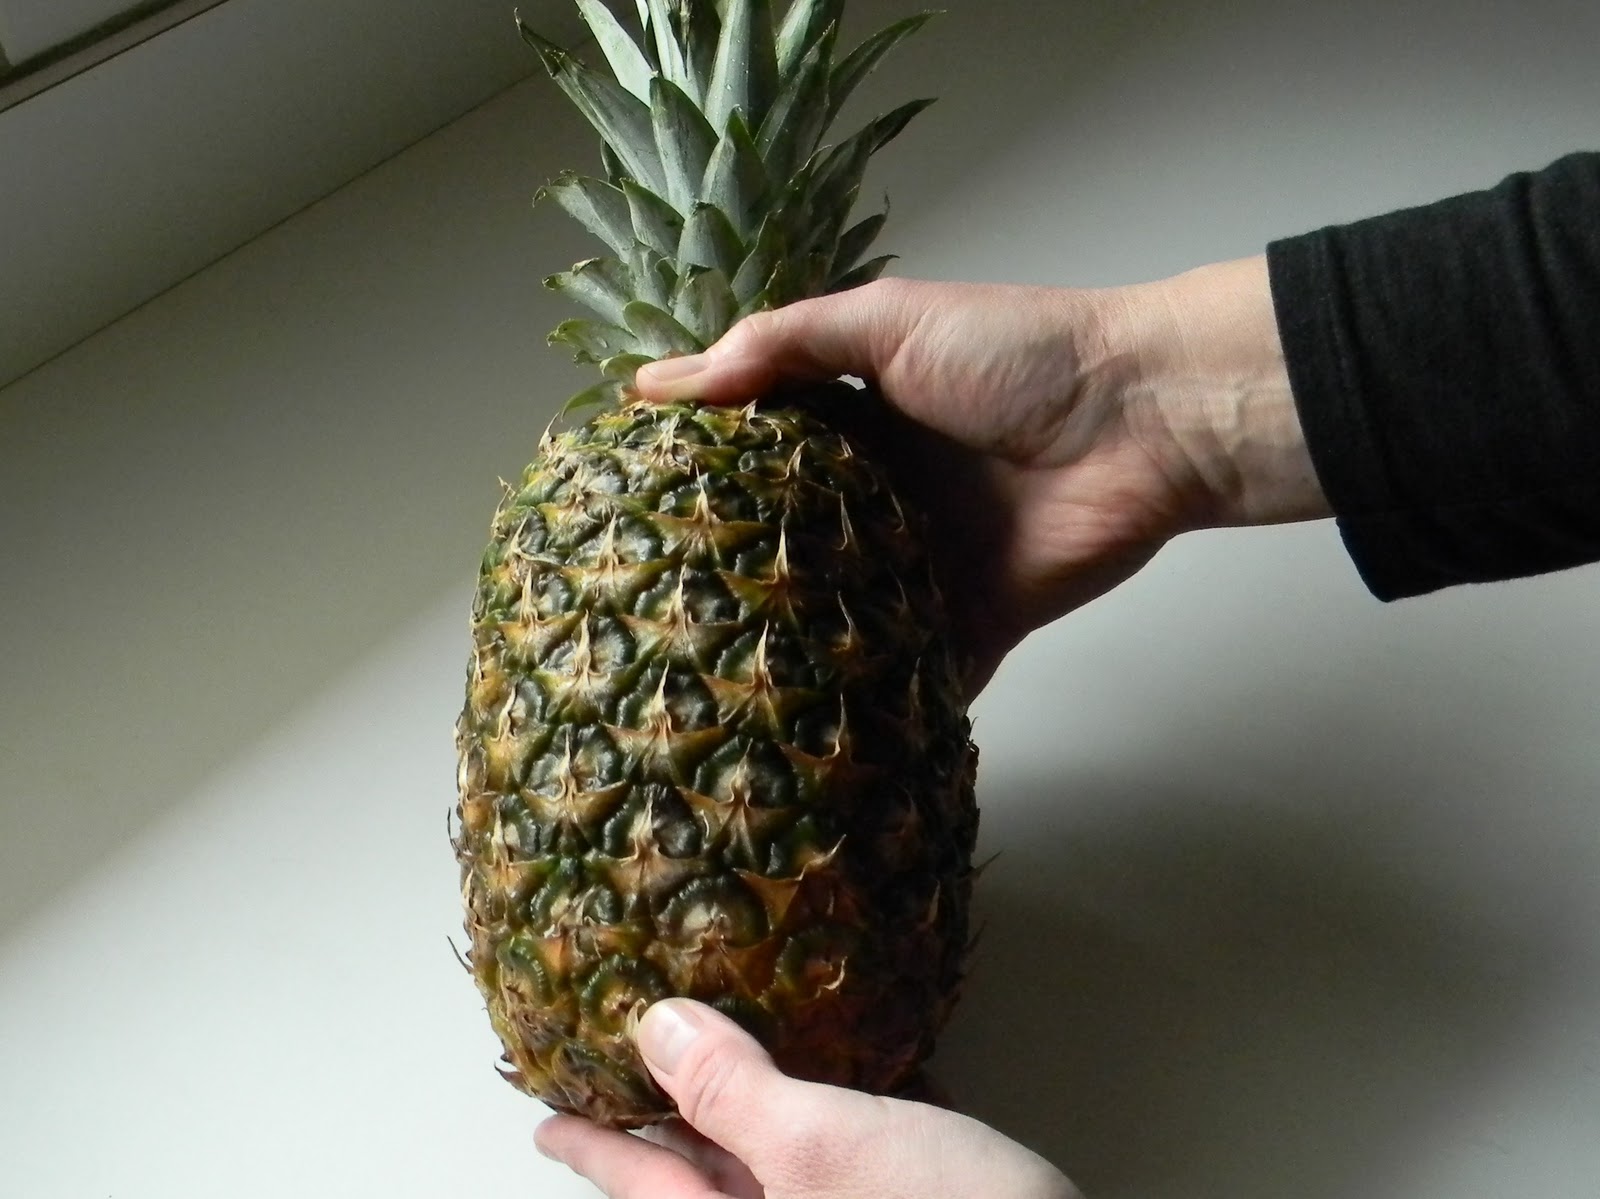
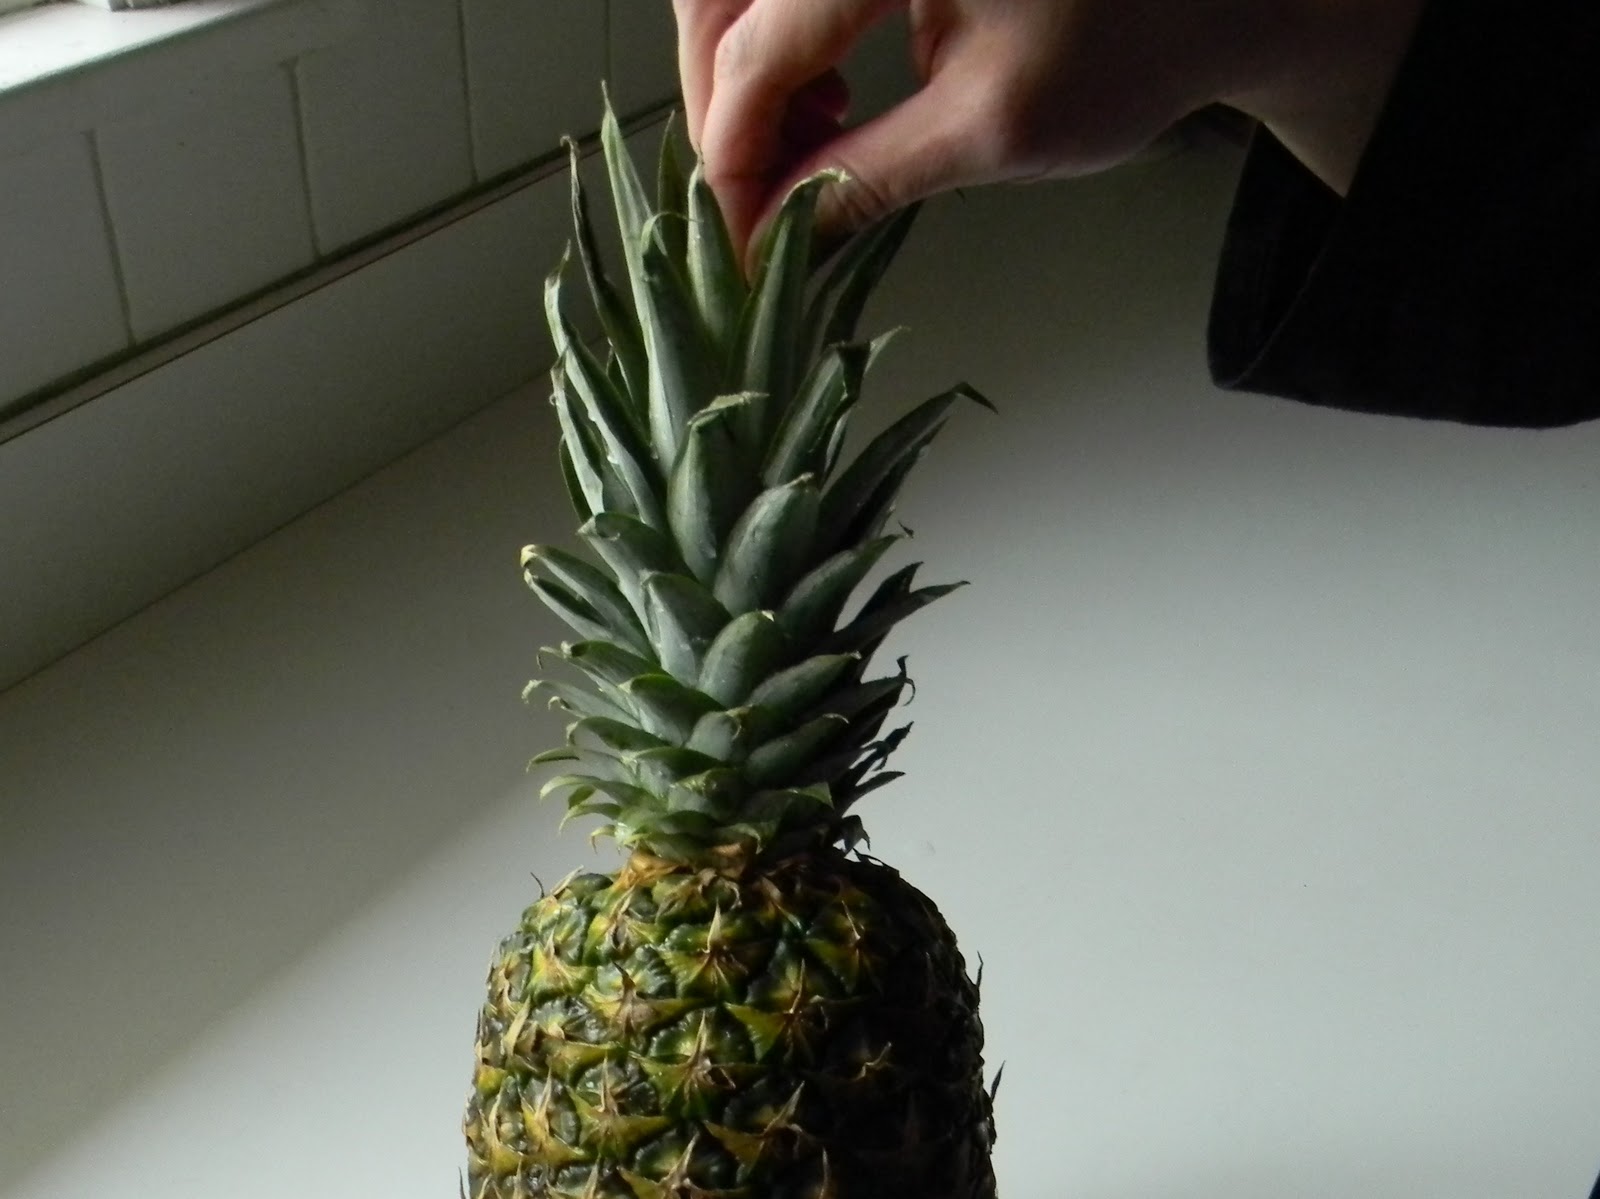
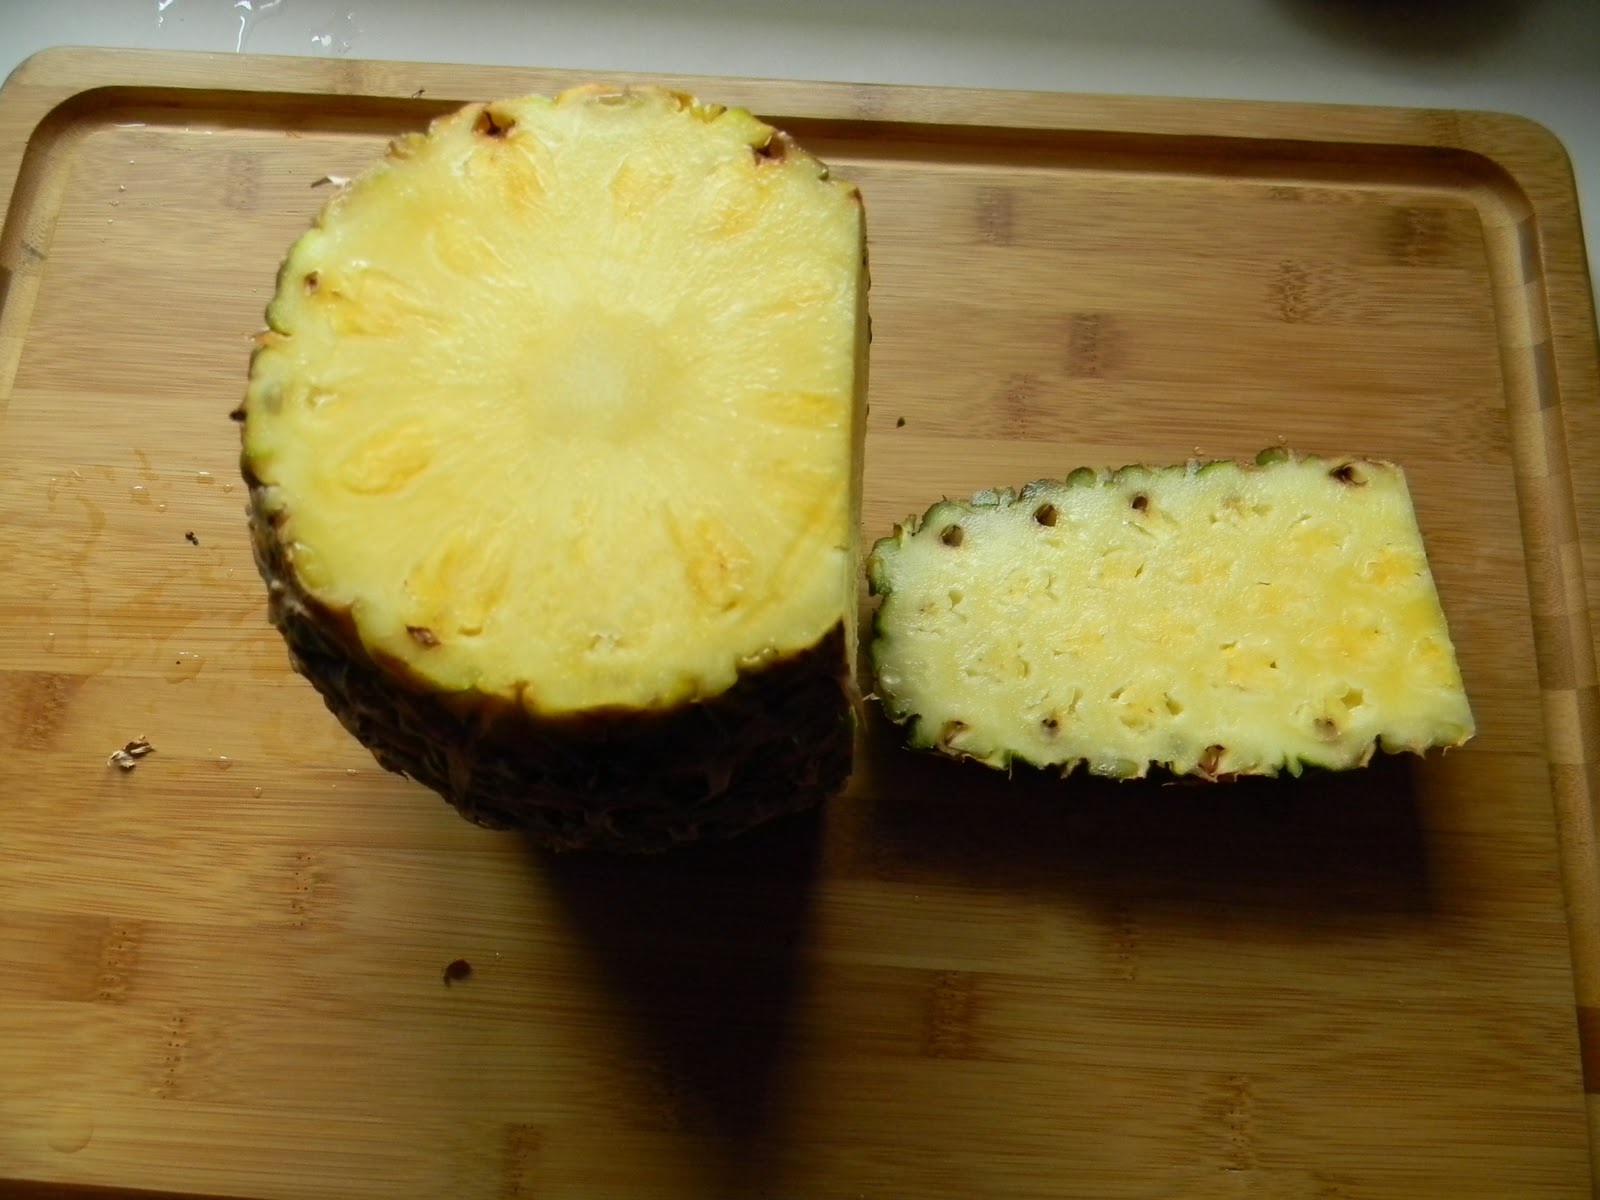
Just in…..I spoke to a lady at the grocery store and she told me that when you bring your pineapple home, you should turn it upside down for a day or two to get the juices flowing throughout the pineapple….

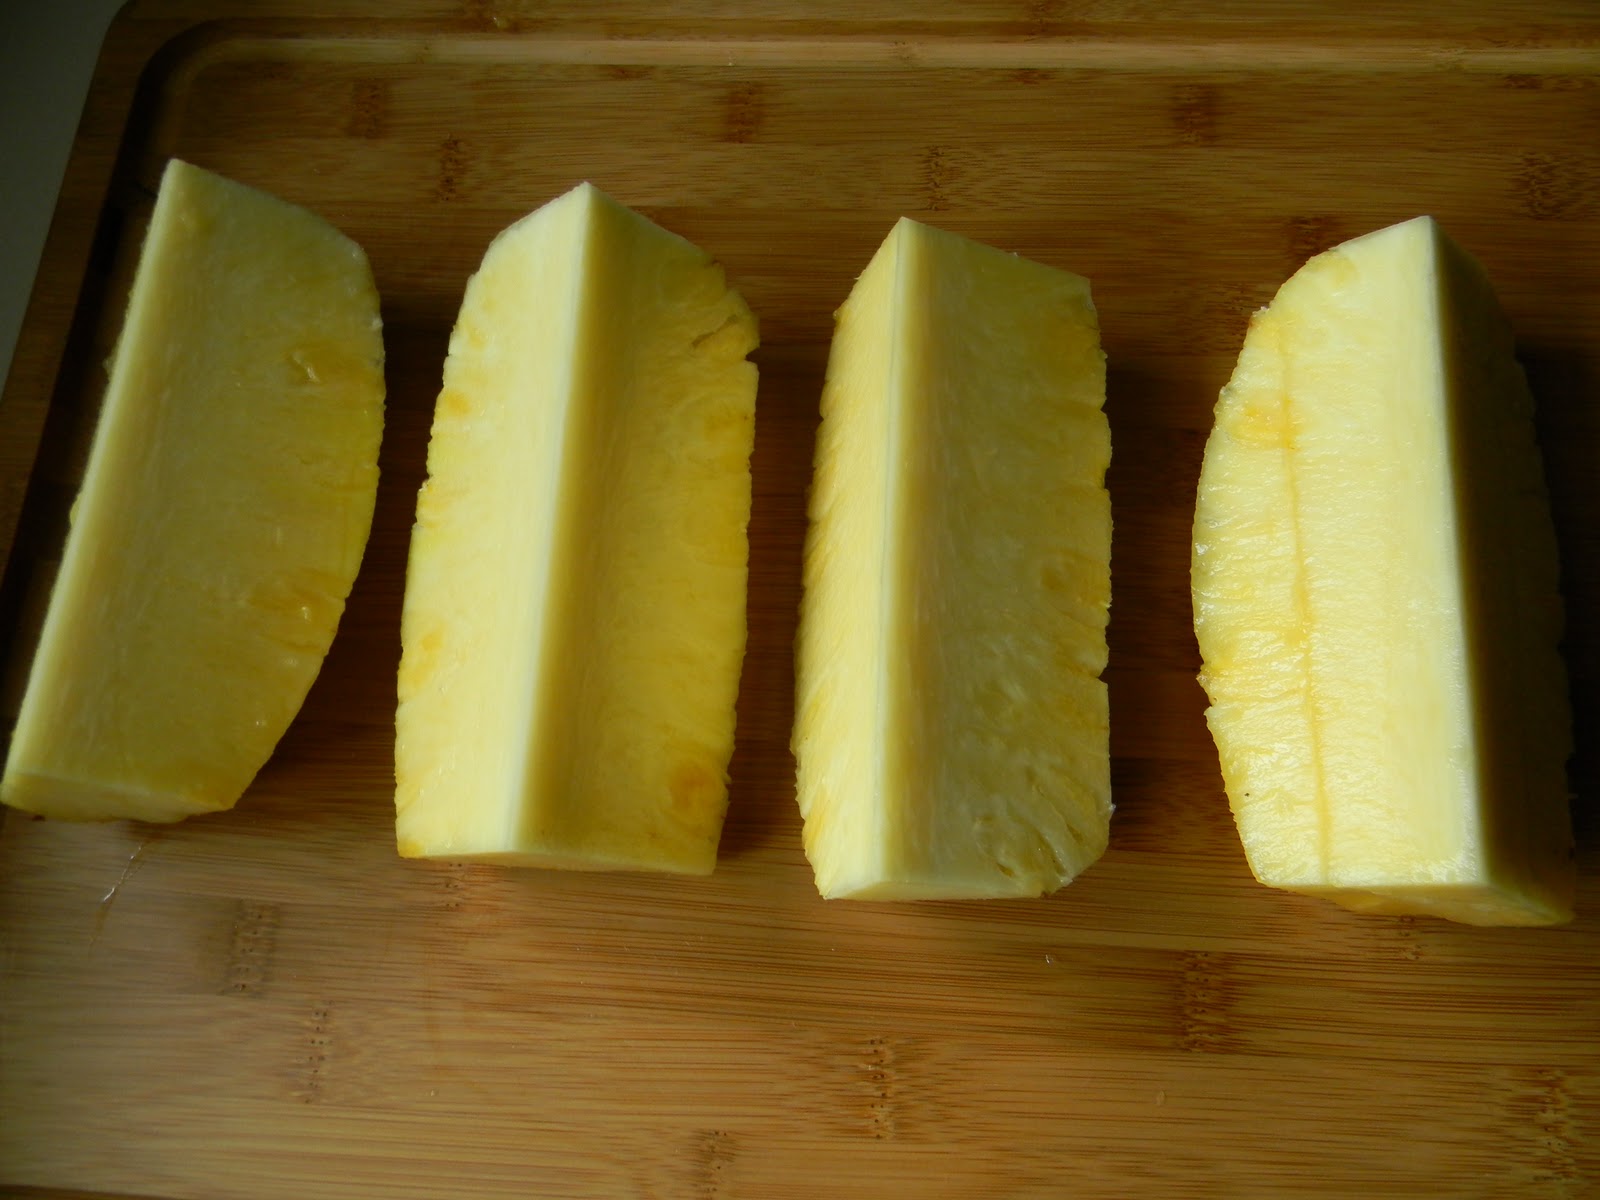
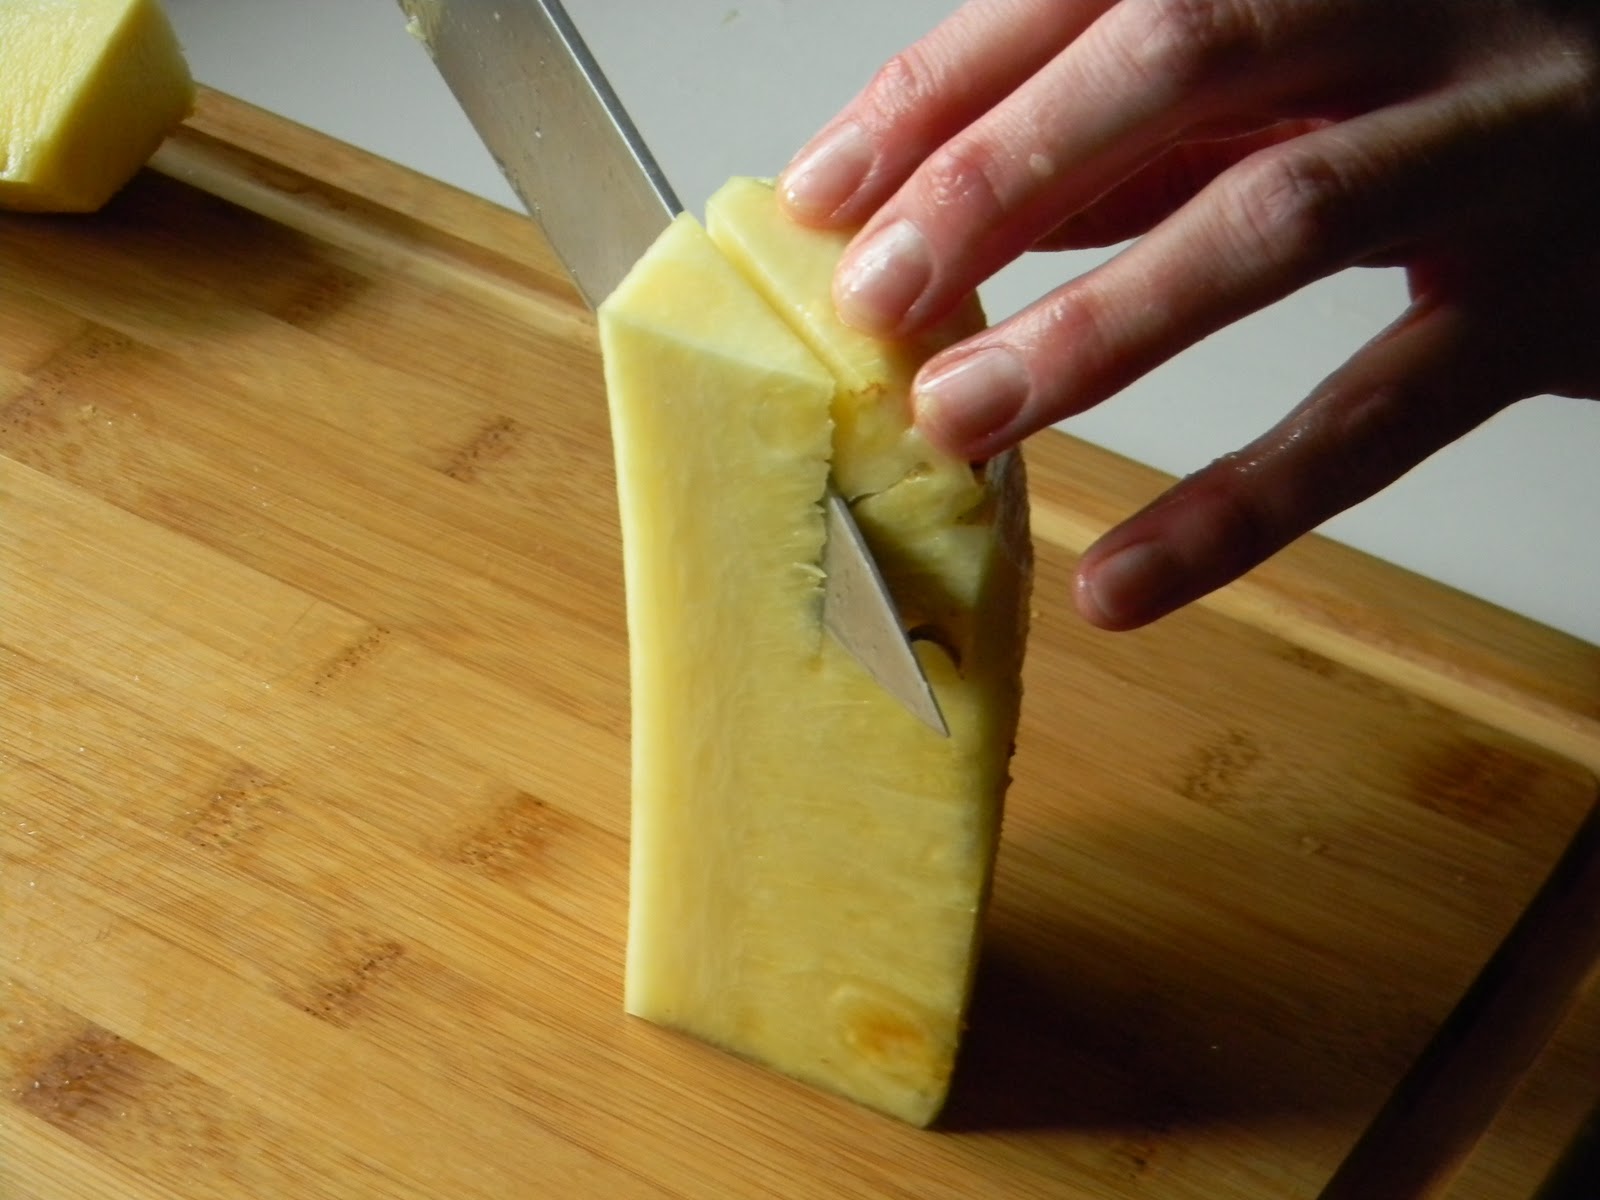
Well, of course I had to try it!  The results are in….YES!  I believe the juices evened out a bit by setting my pineapple upside down for 2 days.  Do you think this is where they got the idea for Pineapple Upside Down Cake???

Anyway, enjoy fruits at room temperature.  The sweet taste is more prominent at room temperature and salt is more prominent cold.

Have a great day!

Angie

Hey, Thanks!

I’ve been blogging for about a year and a half now.  This would not be possible if it weren’t for YOU!  I want to express my sincerest gratitude for your visits and comments.  Often times your comments completely make my day! 

I love sharing what I do in my kitchen with you.  Growing up, I loved when my Mom and Grandma let me putz in the kitchen with them.  When I blog, I feel like you’re in my kitchen with me.  I get huge warm fuzzies when I hear that you’ve enjoyed a recipe I’ve shared with you.

So, thank you again.  For everything!

Have a wonderful day-
Angie

God Given Cooking Utencils….

There are thousands of kitchen tools/utensils out there.  In some cases, we can make due with our hands.   Of course we wouldn’t want to dip our hand into a piping hot pot of soup to ladle out a serving or two.  I made homemade biscuits this evening.   I used my hands to blend the flour and butter together and to flatten out the biscuit dough.  I used my fingertips to coat the tops with milk and check for doneness.  There is something playful about getting your hands right in the flour and butter…like making mud pies as a kid.  Next time, I’m enlisting Ryan to help me, he’ll love it!

Tonight I whipped up a batch of whole grain biscuits to go with my Crispy Oven Fried Chicken.  Warm Homemade biscuits with a pat of butter and honey served alongside crispy oven friend chicken…so, so good!

I do not measure when making these, much like when I make pancakes or waffles.   Into a large mixing bowl goes white flour, whole wheat flour, wheat germ, a small amount of sugar, baking powder, and a little salt.  With my hands, I blended about 1/3 cup butter into the flour mixture, it resembles cornmeal when it’s ready for liquid.  I didn’t have buttermilk, so I mixed about 1/2 cup plain yogurt with milk and dumped it into the flour mixture. My favorite mixing tool to mix is a fork.  I mix until most of the flour is moistened, dump onto counter and knead into a ball.  Pat into a circle that’s about 1/2″ thick.  Cut with biscuit cutter.  I coat the tops with a little milk, with my fingers, of course!  Bake at 375′ for about 18 minutes.  Carefully, I touch the tops of the biscuits with my finger to check for doneness.

These go together in five minutes…so easy.  Kind of fun to eat a biscuit in lieu of the typical starches.  The boys go CRAZY for them.  Nice treat for a Tuesday evening.

I think these might make an excellent demo video, don’t you think?

Have a great evening!

Angie

How To Cut Up a Fresh Pineapple….

Don’t you just love fresh pineapple?  Whenever I see it on sale I just have to buy a couple.  (I bought mine today at Jewel, they were $1.99)  Here are a couple of things to look for when picking out fresh pineapple…. 

The skin should be firm and the skin should be yellow at the base and throughout the skin to the top.   Do not choose pineapple that has brown on or near the bottom.

Next, carefully grab ahold of an inner leaf….

Gently pull on the leaf.  If it comes out easily, it’s ripe.

Give the pineapple a rinse.  Lie the pineapple on its side on a large cutting board.
Cut the top and the bottom off about 1/2″ into the pineapple.

Turn the pineapple upright.  You can see the round core in the center.  You’ll need to remove the tough skin. Using a sharp knife, cut from the top straight down around the pineapple removing between 1/4″ and 3/8″ skin and some of the ripe fruit.

You can see that I’ve removed all of the skin and there are no little “eyes” left on the fruit.  Cut straight down the center and cut the pineapple into quarters.
Next remove the core.  Cut straight down removing the core.

Cut each quarter in half after the core has been removed….

Cut into bite size pieces….refrigerate.  Enjoy right out of the bowl…or….try my recipe for Fresh Pineapple Cake With Caramel Sauce.  Just a thought:-)
Have a wonderful evening!
Angie

Snickerdoodles….

Make this cookie if for nothing else, the smell in your house!  This delightful chewy cookie is made with real ingredients, butter, flour, sugar, eggs…no preservatives, and no long crazy ingredient list.  Make them with your kids!  The recipe is really simple and they’ll really enjoy coating the dough balls with the cinnamon/sugar.

Be prepared for the kiddies to line up to taste!

Snickerdoodles

1 stick + 7 tablespoons softened unsalted butter
1 ½ cups sugar
2 large eggs
2 2/3 cups all-purpose flour
2 teaspoons cream of tarter
1 teaspoon baking soda
½ teaspoons salt
2 tablespoons sugar mixed with 2 teaspoons cinnamon

1) Preheat oven to 375’. Line a cookie sheet with parchment paper, set aside.
2) In a large mixing bowl, with an electric mixer, beat butter until creamy and add sugar, beat until fluffy. Add eggs and beat until well combined.
3) Combine the flour through the salt in a small mixing bowl.
4) Add half of the flour to the butter mixture and beat until mixed. Add the rest and mix until well combined.
5)Mix the sugar and cinnamon in a small mixing bowl until well combined.
6) Roll into 1” balls and coat evenly with the cinnamon sugar. Place on cookie sheet 1 ½” inches apart.
7) Bake for 10-12 minutes. Slide the parchment off the hot sheet right on to the cooling rack. Cool completely. Makes about 30 cookies.

Enjoy!
Angie

Baja Fish Tacos with Avocado Cream and Fresh Cilantro Salsa…..

My family LOVES this dish.  What is it about being able to assemble your dinner that is so appealing to kids?  Whatever it is, I love when they go for a healthy meal such as this one.  There is some prep involved, but you can make the avocado cream and the salsa a day or two ahead.  Feel free to use bottled salsa.  The fish takes minutes.

We’ll start with the avocado cream….

Cut the avocado in half.  Carefully score the inside of the avocado as pictured.  Squeeze the skin side together and the avocado will easily come out. 

Put the avocado right into the food processor, I’m using a mini Cuisinart.
Add low fat plain yogurt….
Mayonnaise….
Lime juice…
Honey….
Fresh cilantro, kosher salt, and water….Give it a whirl until smooth….
It should look like this.
Cover the avocado cream with plastic wrap before putting sealing with the lid.  this will keep the air out and will keep it from turning brown.  Do this with guacamole as well.
For the salsa…
You will need a large can of petite diced tomatoes, fresh cilantro, fresh onion, lime juice (fresh or bottled) a small green pepper, seeded and chopped, a jalepeno, granulated garlic powder, and salt…Add half of the canned tomatoes to a food processor, once smooth, add the remaining diced tomatoes for a chunky texture.
Fresh and delicious!  Refrigerate until you’re ready to use.
For the fish….

You’ll need to make the Baja rub for the fish.  Double or even triple this recipe and save it for the next time.  Be sure to separate what you’re going to save before you start seasoning the fish so you do not contaminate the rub you will be saving.  Label and date.  Seasonings needed are:  brown sugar, chili powder, cumin, granulated garlic powder, sweet paprika, oregano, cayenne, salt, and allspice.

Mix all ingredients together and break up any lumps with your fingers.

You’ll need 6 tilapia fillets, rinsed and patted dry with a paper towel.  Brush each fillet with canola oil.

Season each piece of fish with the rub mixture.

 Each piece of fish should be well coated…Heat a non stick skillet with canola oil over medium high heat until very hot.

Cook fish for 4 minutes per side, try not to crowd the fish.
The brown sugar in the rub will caramelize the fish a bit…delicious on its own….wait until you taste the avocado cream, fresh salsa, and spicy flavors of the fish…  it’ll knock your socks off!

Flake the fish with a fork.  Squeeze fresh lime juice over the fish.  Now you’re ready to eat!

Baja Fish Tacos with Avocado Cream and Fresh Cilantro Salsa

For the Avocado Cream:
1 whole ripe avocado, cut into chunks
2 tablespoons low fat plain yogurt
1 tablespoon mayonnaise
1 tablespoon lime juice, fresh or bottled
1 tablespoon honey
1 small bunch cilantro
2 pinches of kosher salt
¼ cup water

Place all ingredients into a food processor and give it a whirl until smooth. Cover with plastic wrap and refrigerate until ready to use. Good for one week refrigerated.

For the Fresh Salsa:
1 28 ounce can petite diced tomatoes
1 whole jalapeño
1 small onion or ¼ of large
1 small bunch fresh cilantro
½ teaspoon granulated garlic powder
3 pinches of kosher salt

Place HALF of canned tomatoes into food processor. Add HALF of the jalapeño, seeds and all. Add the rest of the salsa ingredients. Whirl until smooth. Taste. If you’d like more heat, add the rest of the jalapeño pepper and process until smooth. Pour into mixing bowl and add the rest of the canned tomatoes. Mix and taste. Season with more salt if necessary. Refrigerate up to two weeks.

For the Fish:
6 tilapia fillets, rinsed and dried with a paper towel
1-2 tablespoons canola oil for coating fish

Rub:
1 ½ teaspoons brown sugar
1 ½ teaspoons chili powder
1 teaspoon cumin
1 teaspoon oregano
¾ teaspoon granulated garlic powder
¾ teaspoon sweet paprika
¼ teaspoon ground cayenne pepper
¼ teaspoon ground allspice
½ teaspoon kosher salt

2 tablespoons canola oil for cooking

1 fresh lime, cut into wedges
2 cups shredded lettuce
2 plum tomatoes, seeded and finely diced
1 cup shredded cheddar cheese
12 soft corn tortillas or hard corn shells

1) Mix all rub ingredients together in a small bowl. Brush fish fillets with oil. Coat both sides of fish generously with the rub. Heat a non stick pan over medium-high heat with oil. Cook fish in the hot pan, do not crowd, for 4 minutes per side.
2) Remove from heat onto a platter, flake with a fork. Squeeze fresh lime juice over fish. Cover with foil to keep warm.
3) Wipe out fish pan and warm tortillas one minute per side in the pan and place into a bowl lined with a clean napkin or kitchen towel to keep warm.
4) Layer over warm tortilla; lettuce, tomato, cheese, fish, avocado cream, and salsa. Serves 4.  Enjoy!

Greek Bruschetta…..

You must try this very easy appetizer.  Albeit a messy one, serve it to friends and family who could care less if you bank an olive off your third button right into your drink!  I love the color and the fresh taste.  Simple and delicious!

Greek Bruschetta

1 12 ounce can pitted kalamata olives, drained and sliced
1 14 ounce can artichokes, drained and chopped
8 ounces of grape tomatoes sliced in quarters
1/2 cup crumbled feta cheese
1/2 cup chopped parsley
3 tablespoons olive oil
1 tablespoon dried oregano
1 large clove garlic, crushed
2 tablespoons lemon juice
season to taste

Combine all ingredients together in a medium size mixing bowl.  Refrigerate until ready to serve.  Refrigerate any leftovers.

To toast the baguette:

1 whole Baguette, day old or more is best, cut into 1/2″ slices
2 tablespoons or more olive oil
Kosher salt

1) Preheat oven to 300’.
2) Slice stale bread into ½ ” slices. Using a pastry brush, coat both sides of the bread with olive oil. Season with a couple of pinches of kosher salt. Spread out over a large cookie sheet and bake for 15 minutes, give them a turn after about 8 minutes.  Remove from oven and allow to cool.
3)  When ready to serve, simply spoon the vegetables mixture over toasted baguette.  Serves 8-10.  Enjoy!

Beet, Barley, and Toasted Walnut Salad with Honey Balsamic Dressing…

Calling all overworked, exhausted, over scheduled, and busy Moms and Dads.  Do you ever make something special for your lunch???  I’ll bet not!  I make many, many salads that would be absolutely perfect to make for yourself to enjoy for lunch throughout the week.  Loaded with fiber, protein, and most of all, flavor, this salad fits the bill.  You get the chewy texture of the barley, crunchy walnuts, sweetness from the beets, a tang from the feta, and to pull all of the flavors together, a honey balsamic dressing….YUMMERS!  I do not use the quick cooking barley, feel free to do so if you like.  There is quite a difference in cooking time.
Here we go….

First ingredient, the star of the show…pearled barley…

Regular barley is quite starchy so it’ll need a good rinse…

Rinse the barley for several minutes under running water.  This will remove the excess starch and prevent the cooked barley from becoming gummy.
Add the water and salt to the pan.  Bring to a bubble over medium-high heat, then lower heat to medium-low.  Simmer uncovered for 45 minutes.  While the barley is cooking prep the rest of the salad ingredients.

You will need chopped onions, chopped parsley, crumbled feta cheese and toasted walnuts.

To toast the walnuts, spread onto a cookie sheet and bake in a 300′ oven for 12 minutes. 
Finely chop the walnuts, set aside.
For the dressing, whisk the olive oil, balsamic vinegar, honey, salt, pepper, and granulated garlic powder.
Add the seasonings to the liquid ingredients….

Whisk until well blended.

Into a large mixing bowl, add cooled barley, parsley, feta, chopped walnuts, chopped onions, and rinsed and drained beets.  Pour the dressing over the salad and gently mix until well blended.  Refrigerate unused salad. 

Beet and Barley Salad with Balsamic Dressing and Toasted Walnuts

For the barley:
1 cup barley, rinsed and drained
2 ½ cups water
¼ teaspoon salt

For the salad:
½ cup parsley
½ cup toasted walnuts (300’ for 10 minutes, then finely chop)
½ cup crumbled feta cheese
½ cup onion, finely chopped
1 can sliced beets, drained and rinsed

For the dressing:
2 tablespoons each balsamic vinegar, honey, and olive oil
¼ teaspoon salt
¼ teaspoon granulated garlic powder
1/8 teaspoon pepper

1) Rinse barley under running water for a few minutes. Place in medium pot and add water and salt. Bring to a simmer over medium-high heat. Lower heat to medium-low and cook uncovered for 45 minutes. Barley should be chewy. Cool in a large mixing bowl.
2) While the barley is cooking, toast and chop the walnuts, chop the onion and parsley, and crumble the feta.  Whisk the dressing ingredients together in a small bowl, set aside.  Drain and rinse the beets in a strainer.
3) Once the barley is cool, add parsley, walnuts, feta, onion, and beets to the barley bowl. Add dressing to the bowl and gently mix until well blended. Makes about six half cup servings.

Enjoy!

Have a healthy weekend!
Angie


Louisiana Red Beans and Rice, My Version

One word…delicious.  I actually made this recipe with dried red beans, however, cooking time was about five hours!  As previously mentioned, sometimes the beans have been on the shelf awhile and require extra cooking time.   I made a very time saving modification and used canned red beans, equally delicious.  When using canned beans, it is best to drain and rinse as there is a HUGE amount of sodium in the liquid.

Most red beans and rice recipes add the rice right to the beans.  I think it best to serve the beans over rice.  I find that when the rice is added to the beans the rice absorbs all of the flavorful liquid, leftovers dry out.   Make a double batch and freeze for later.  Remember to label and date.

Make this with our without the sausage.  There is quite a bit of ingredient used for seasoning.  One of which is not on my pantry list, but will be going forward.  It’s Liquid Smoke and I love it.  This adds amazing smokey flavor to any dish.  The beans are very hearty so you would not miss the sausage.

Here we go:

You will need a medium diced onion, and a small red, yellow, and green pepper, all diced.  We’ve got a nice healthy start, don’t we?  Heat a large heavy pot over medium heat and add 2 tablespoons of olive oil.  Add the veggies to the pot.

Add  a cup of diced parsley with the leaves.  The leaves add a lovely mild flavor…
You’ll need a serrano chili.  They’re small and quite hot, but we’re only adding one to the pot.  Unless you remove the seeds and membrane, it’ll blow your head off!  I use gloves when handling hot peppers.
Carefully slice the pepper in half.
Using a spoon or a small knife, carefully remove the seeds and membrane.
Finely dice the peppers and add to the pot.
Once the pepper and onions are soft, add three large cloves of minced garlic, cook about one minute.
Add 3 cups of stock.  If you have some homemade stock, go ahead and use it.  If not, you can also use my favorite back up, Better Than Bouillon.  Use 1 teaspoon per one cup of water. 
Add two cans of drained and rinsed red beans and a can of vegetarian refried beans.  The refried beans will thicken the liquid giving it nice body.
Now for the seasonings….you’ll need sweet or smoked paprika, bay leaves, balsamic vinegar, liquid smoke, low sodium soy sauce, molasses, tomato paste, and a small amount of sherry at the very end.  These all go in the pot (except for the sherry) and allow to simmer, uncovered,  for 30 minutes.  Stir often to prevent sticking.  Add additional water if your beans are too thick.

Add the sliced sausage and the sherry, simmer another 10-15 additional minutes. 

I did not add any additional salt, as there is plenty of sodium in the soy sauce and bouillon.  If you use your own unseasoned chicken stock, you may have to add a small amount more salt.  Season to taste.
Red Beans and Rice with Spicy Smoked Sausage

2 cups (uncooked) brown or white rice, cooked according to package instructions (4 cups cooked)
2 tablespoons olive oil
1 small red bell pepper, seeded and diced
1 small yellow pepper, seeded and diced
1 small green pepper, seeded and diced
1 medium onion, finely chopped
1 cup celery and leaves, finely chopped
4 cloves garlic, minced
1 small Serrano chili, seeded and minced
3 cups or more vegetable or chicken stock
2 15 ounce cans red beans, drained and rinsed
1 15 ounce can vegetarian refried beans
1 teaspoon liquid smoke
2 bay leaves
2 teaspoons smoked or sweet paprika
1 tablespoon balsamic vinegar
3 tablespoons low sodium soy sauce
2 tablespoons tomato paste
1 tablespoon molasses
12-16 ounce package cooked smokey or spicy sausage, cut into ¼” diagonal pieces
1 tablespoons sherry

1) Heat a large soup pot over medium heat and add olive oil. Once oil is hot, add the red, yellow, and green peppers, onions, and celery. Cook for about 10 minutes or until vegetables are soft. Add the garlic and the Serrano chili, cook another minute.
2) Add the chicken stock, the red beans, and refried beans to the pot. Stir until the refried beans have dissolved in the liquid.
3) Add the liquid smoke through the molasses. Simmer over medium heat for 30 minutes, stir often.
4) Add the sausage and sherry, simmer another 10 minutes.  Remove bay leaves.  Makes about eight servings. Serve over ½ cup of rice.

*serve with hot sauce if you wish.
*for vegetarian, simply omit the sausage and use vegetable stock.
Enjoy!
 
Angie

Sweet Potato and Parsnip Latkes….

I am elated that one of my recipes was featured on The Pioneer Woman.  Ree Drummond’s site is a treat to visit!  Click on Tasty Kitchen to view thousands of recipes!  Speaking of recipes, I adore this one!

Sweet Potato and Parsnip Latkes.  What is a latke?  It’s a potato pancake.  I gave it a little twist by using sweet potatoes and parsnips in lieu of white potatoes.  In addition to being incredibly delicious, they’re also good for you!  At this time of year I feel the need to change up recipes in the starch rotation. I especially love serving them with a nice piece of grilled or baked fish, alternatively, they would be excellent with roasted chicken.  Traditional latkes are fried in quite a bit of oil.   I bake them on high heat with a little oil, resulting in a lighter, yet crispy result.

I recommend using a food processor to shred the vegetables, they’re done in minutes.  If you do not have a food processor, you can grate the vegetables on a box grater.  You may want to get out the head and wrist bands, it’s quite a work out!

Sweet Potato and Parsnip Latkes

2 tablespoons olive oil
2 medium size sweet potatoes, peeled and shredded
2 large parsnips, peeled and shredded
1 small onion, peeled and shredded
½ cup chopped parsley
1/3 cup flour
¼ teaspoon baking powder
½ teaspoon kosher salt
¼ teaspoon pepper
2 eggs
Sour cream
Green onions, thinly sliced

1) Preheat oven to 375’. Non stick foil line a cookie sheet and drizzle with 2 tablespoons of olive oil, spread with your hand to coat pan well. Set aside.
2) Shred the sweet potato, parsnips, and onion in a food processor or on a box grater. Place into a large mixing bowl. Add parsley.
3) Sprinkle all dry ingredients over sweet potato mixture. Add eggs and mix all ingredients together well combined.
4) Shape into 12 three inch patties and place on prepared cookie sheet. Pat the tops flat with a spatula. Bake for 25 minutes, carefully flip and bake an additional 10 minutes. Serves 6, two patties per person.  Serve with a dollop of sour cream and a sprinkle of green onions.

*To lighten sour cream, measure equal parts sour cream and non fat Greek yogurt, whisk to blend.   Ever read the ingredient list on light sour cream compared to regular??

DE-LISH!

Angie