Barbecue Meatloaf Over Texas Toast with Bush’s Original Baked Beans…..

These individual meatloaves are extremely tender and delicious.  Serve over a piece of grilled Texas toast and perfectly seasoned Bush’s Original Baked Beans….this is the perfect summer supper!

Here we go…

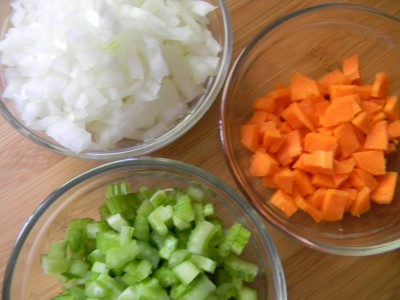
We begin with the basics, minced onions, celery, and carrots.  This will add moisture and flavor.

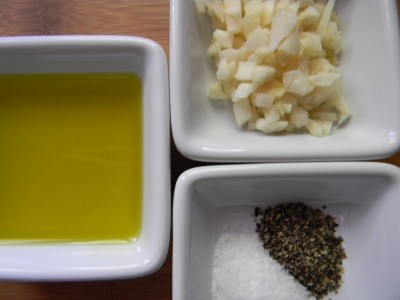
The ingredients in this recipe are very uncomplicated.  We’ll need some olive oil, fresh minced garlic, salt, and pepper.

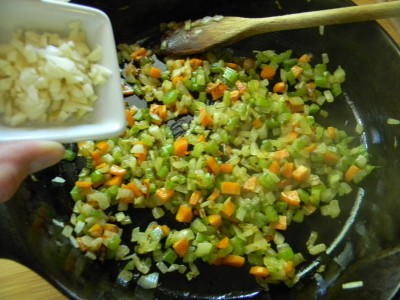
Into a hot pan over medium heat add the olive oil, onions, celery, and carrots.  Cook for about 9 minutes or until soft, stir often.  Add the garlic and cook another minute or two.  Remove from heat and cool.  Preheat oven to 350′.

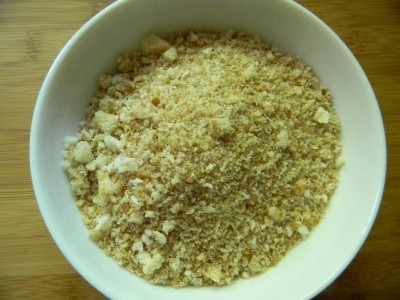
We’ll need bread crumbs.  I save the bread ends and put them in the food processor for a whirl.

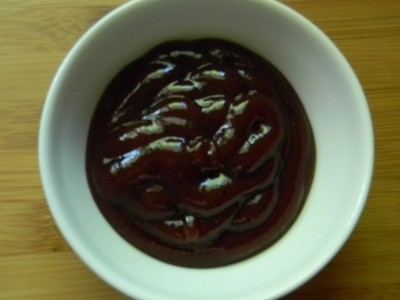
I use Sweet Baby Ray’s Barbecue sauce, but you can use your favorite.  This will go into the meatloaf, you’ll need additional for basting while grilling.

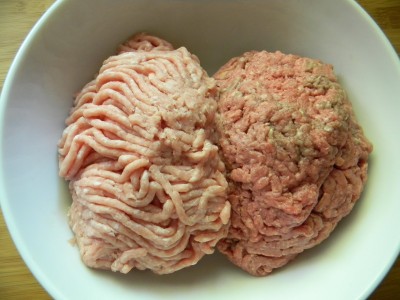
We’ll need 1 lb. each lean ground beef and ground turkey.

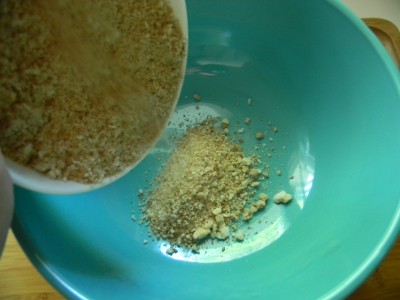
Into a large mixing bowl, add the bread crumbs….
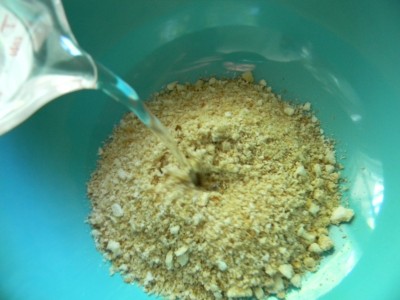
Add water, this will add extra moisture as well.

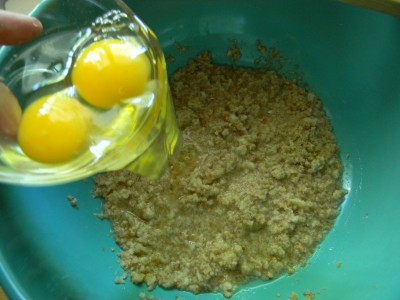
And eggs.  Mix well.

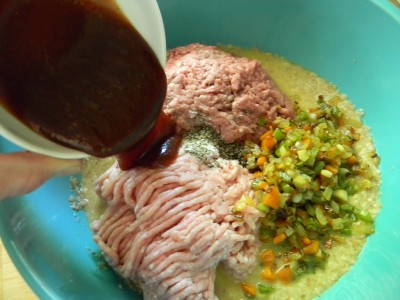
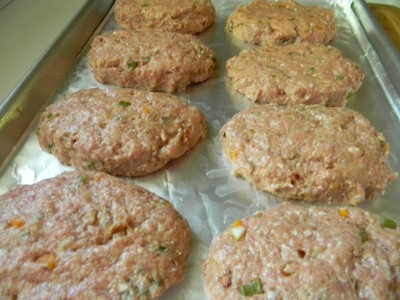
To the large mixing bowl, add the meats, the cooled vegetables, salt, pepper, and barbecue sauce.  Mix well with clean hands and divide into 8 equal flat and oval shaped patties.  Place on non stick foil lined cookie sheet or regular foil coated with cooking spray.

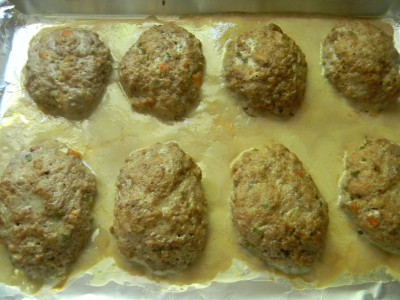
Bake for 25 minutes. 

They should look like this.  Cool for about 5 mintues and remove the loaves from the pan, removing any residual cooking residue.

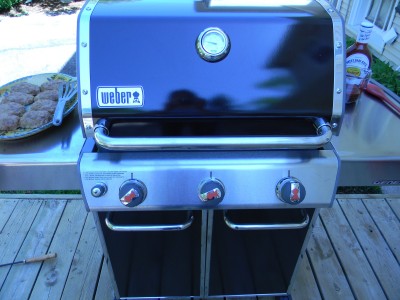
Preheat the grill.

Oh, how rude of me.  Allow me to introduce you to my new grill, Wendy Weber.  Isn’t she beautiful????

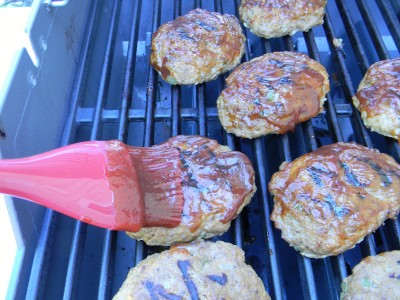
Place the meatloaves on the grill over medium heat.  After a couple of minutes, give a quarter turn.  Give a turn after a couple of more minutes.  Baste with barbecue sauce.   Watch carefully as the barbecue sauce can easily burn.

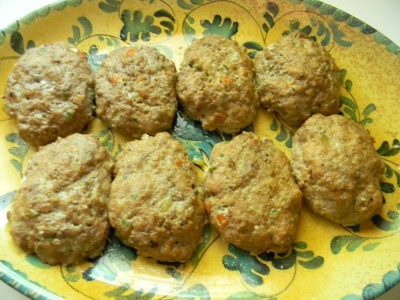
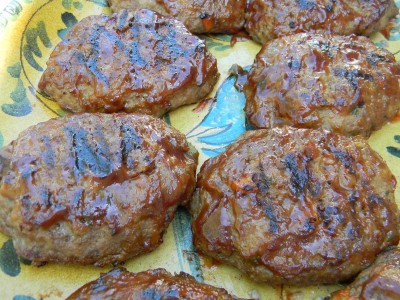
Remove the meatloaves from the grill. 

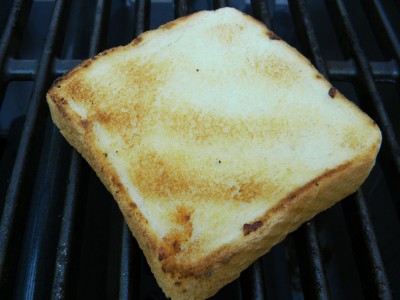
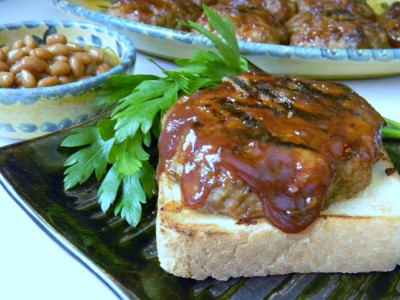
Toast the thick and lightly buttered Texas Toast.  Serve the meatloaves on top of the toasted bread with extra barbecue sauce. 

Individual Barbecue Meatloaves with Texas Toast and Bush’s Original Baked Beans

2 tablespoons olive oil
¾ cup minced onion
½ cup minced celery
¼ cup minced and peeled carrot
2 large cloves garlic, minced
1 ½ cups bread crumbs
1 cup water
2 eggs
1 lb. 93% lean ground turkey
1 lb. 90% lean ground beef
½ teaspoons salt
¼ teaspoon pepper
1 ½ cup Sweet Baby Ray’s BBQ sauce or your favorite
Texas toast, lightly buttered on both sides, optional

1) Heat a medium size skillet over medium heat until hot. Add olive oil, onion, celery, and carrot. Cook until vegetables are tender, about 9 minutes. Add garlic, cook an additional minute. Remove from heat to cool.
2) Preheat oven to 350’. Non stick foil line a cookie sheet.
3) Add the bread crumbs to a large mixing bowl. Add water and eggs, mix well. Add the ground meats, salt and pepper, ½ cup barbecue sauce, and cooled onion mixture. Mix well with meticulously clean hands. Shape into 8 flat, oval patties and place on prepared cookie sheet. (the meat will be extremely soft) Bake for 25 minutes. Remove from oven and cool for 5 minutes.
4) Preheat the grill. Place on the grill over medium heat for 4 minutes, give a quarter turn, cook another 4 minutes. Turn loaves and baste with barbecue sauce. After a couple of minutes, turn one last time and baste with barbecue sauce. Grill the Texas toast for a couple of minutes per side until it is toasted. Serve meatloaf on top of grilled bread with extra barbecue sauce. Enjoy with Bush’s Original Baked Beans, DE-LISH!
Artichoke and Fresh Mozzarella Salad…..

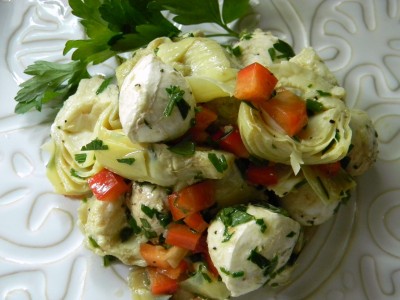
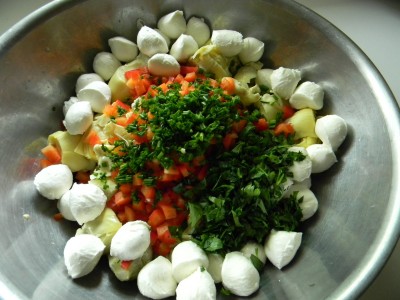
This is a very simple and fresh spring/summer salad.  I use canned artichoke hearts drained well and cut into halves or you can buy them quartered.  What’s not to love about fresh mozzarella?  You can buy it in many different sizes.  This one is about the size of a cherry tomato.  Simply put all of the salad ingredients into a large bowl and mix…SO EASY, SO ELEGANT!

We’ve got canned artichokes, fresh mozzarella balls (Ciliegine) , a diced and seeded red pepper, fresh finely chopped chives, fresh parsley, olive oil, crushed garlic, salt and pepper, and a splash of balsamic vinegar.  That’s it! (I use chives for a gentle onion flavor.  Raw onions can easily overpower this salad.  I like to taste the mild flavor of the cheese with the fresh herbs…so good!)

These whole milk mozzarella balls come in many sizes for various uses.   When you purchase them from a deli, they’ll weigh just the mozzarella balls first and ask you if you want water.  Go ahead and have them cover them with the mozzarella liquid, they’ll stay moist in the refrigerator before you use them.  Use within a week.

1)  Ovolini-about 1.50 ounce.  About the size of an egg.  Great for slicing and putting into salads or on pizza with fresh basil.
2)  Ciliegine-about 1/3 to 1/2 ounce size.  They’re about the size of a cherry tomato.  Great marinated and make for beautiful appetizers skewered with tomatoes and basil.
3)  Pearle-about .14 ounce.  They’re the size of a large pearl.  Fabulous in salads.

Artichoke and Fresh Mozzarella Salad

4 cans of drained and halved or quartered artichokes
1 pound of mozzarella balls
1 medium red bell pepper, seeded and diced
1/2 cup thinly sliced fresh chives
1/2 cup chopped fresh parsley
1 large clove fresh garlic, crushed
2 tablespoons of olive oil-love first cold pressed, more robust olive flavor, great in salads.  Very green in color:-)
2 pinches of kosher salt, or to your taste
1 pinch of black pepper, or to your taste
1 tablespoon balsamic vinegar

Place artichokes through garlic in a large bowl.  Add the olive oil, salt, and pepper.  Gently toss to coat.   (You do this so that the olive oil, salt and pepper coats and seasons the salad ingredients)  Add the vinegar and gently toss.  Serve immediately or refrigerate until you’re ready to serve.  Makes about eight 3/4 cup servings.  Enjoy!

Orzo Pasta Salad with Roasted Garlic Vinaigrette…..

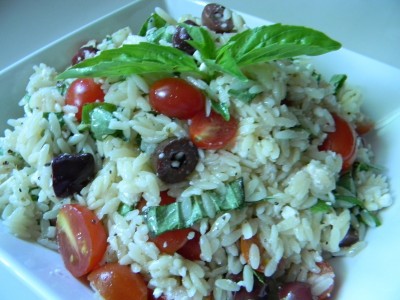
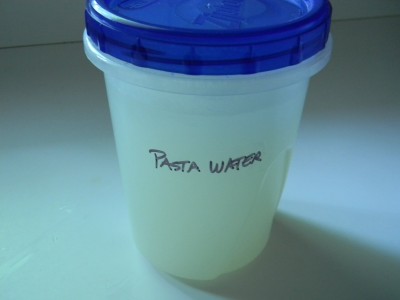
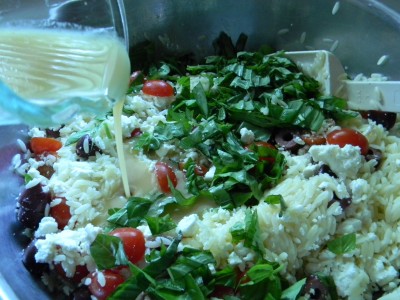
The roasted garlic dressing makes this salad over the top delicious!  I used orzo pasta that was pretty tiny, just be sure that you have a colander that the pasta won’t go through when draining.  Always reserve a good amount of pasta water for moisture if needed.  This is especially important if making pasta salads ahead of time.  Pasta tends to soak up excess moisture sometimes leaving the pasta a bit dry.  Simply pour small amounts of the pasta water into the salad and mix well until you get a moist consistency.  Pasta water is much more “waistline” friendly than extra oil.

We’ll start with the dressing…..

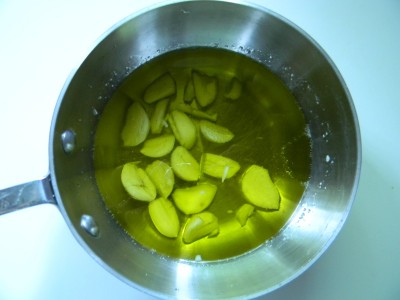
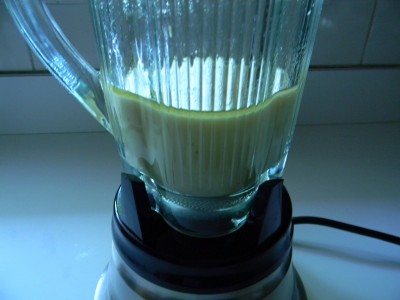
Into a small sauce pan, add 3/4 cup of olive oil and 6 large cloves of garlic cut in half or smaller so that the olive oil covers them.  Place over very low heat and watch carefully.  Cook only until the garlic is slightly browned and soft, about 35-45 minutes.  Pour the cooked garlic/oil right into the blender.  Allow to cool for 15 minutes.  Add 1/4 cup of red wine vinegar and blend.  Place in refrigerator until you’re ready to assemble the salad.

Cook the pasta according to package directions. 

Reserve a couple of cups of pasta water.  Be sure to refrigerate the pasta water.  Drain, rinse, and drain well.   Place the pasta into a large mixing bowl.

Add the halved kalamata olives, halved grape tomatoes, feta, fresh basil, and the dressing to the orzo.  Mix well.

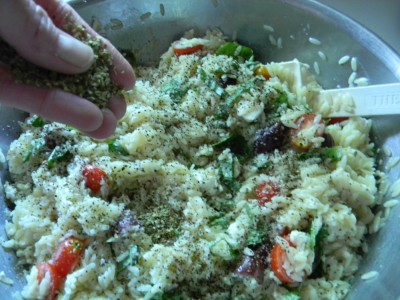
Season with a couple of pinches of kosher salt, a pinch of black pepper, and a tablespoon of dried oregano.  Mix well.  Serve immediately or refrigerate until ready to serve.

Orzo Pasta Salad with Roasted Garlic Vinaigrette
 
 For the dressing: 
¾ cup olive oil
¼ cup red wine vinegar
6 large cloves fresh garlic halved
 
Salad Ingredients:
 
1 pound cooked orzo pasta, 2 cups pasta water reserved
8 ounces crumbled feta cheese
1 cup kalamata olives, halved
2 pints grape tomatoes, halved
1 large bunch fresh basil, thinly sliced
1 tablespoon dried oregano
2 pinches kosher salt or to taste
1 pinch black pepper or to taste
1) Place the oil in a small sauce pan and add the fresh sliced garlic. Place over low heat. You want to see small bubbles and to know it’s cooking. Do not over brown. Pour into blender, cool for 15 minutes. Add the red wine vinegar and give it a whirl until well blended. Refrigerate if you’re not mixing the salad right away.
2) Cook the pasta according to package directions. Before draining, reserve a couple of cups of water. Drain pasta and rinse. Drain well. Add to large mixing bowl.
3) Add the rest of the salad ingredients to the bowl. Pour the dressing over the salad and mix well. Serve immediately or refrigerate until ready to serve.

*If you’re serving the pasta after refrigeration, add pasta water a small amount at a time to moisten.

Spicy Sauteed Rapini with Garbanzo Beans, Olive Oil and Garlic…..

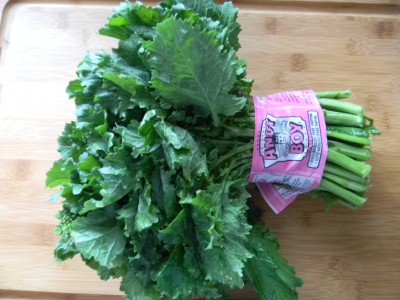
Rapini is also known as Italian broccoli.  It’s a little bitter and requires blanching.  Blanching is quick, partial cooking and then immediately plunged into cold water to stop the cooking.  This removes the bitterness of the vegetable.  It is now ready for a quick saute with lots of garlic and red pepper flakes.  Add to hot linguine and top with fresh grated Parmesan and you have a delicious vegetarian main dish.  I’ve added garbanzo beans, omit if you wish.  

Here we go…

Start by putting a very large pot of water on the stove to boil.  Add a teaspoon of salt.

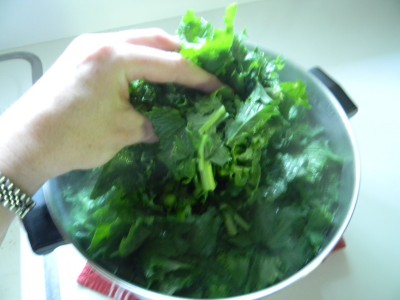
Rapini somewhat resembles broccoli but is actually in the turnip family.  It’s very leafy and has broccoli like crowns throughout. 

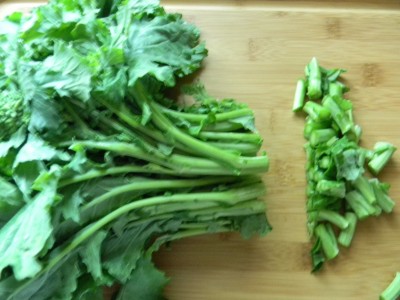
Trim about an inch off the bottom.

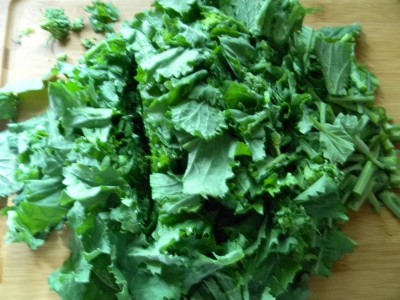
Chop the rapini in 1″ increments.

Soak the chopped rapini in cold water for about 5 minutes.  Drain.

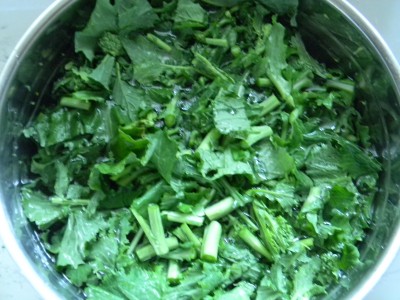
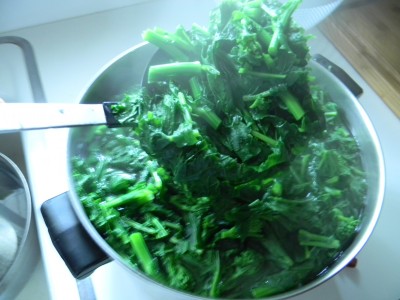
Add the chopped and cleaned rapini to the salted boiling water.   Fill a large bowl with cold water and add a hand full of ice cubes.  Allow to cook for about 3 minutes.

Using a slotted spoon, remove the blanched rapini from the pot right into the bowl of cold water.

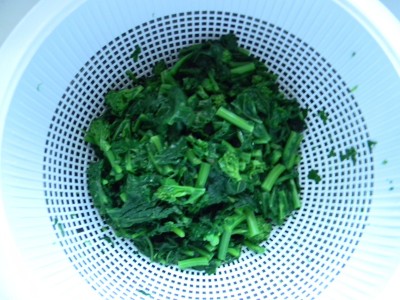
Drain well.

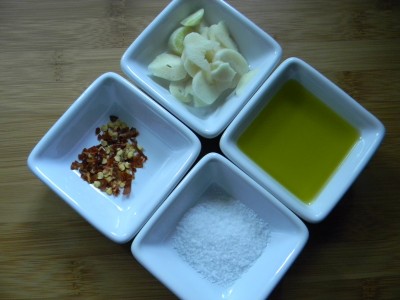
Now for the seasonings.  You’ll need some olive oil, a couple of cloves of fresh garlic, red pepper flakes, and kosher salt. 

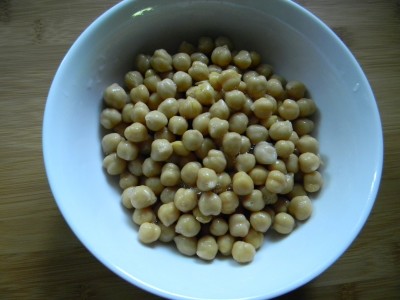
You’ll also need a can of garbanzo beans, drained and rinsed.  Heat a large skillet over medium-high heat.

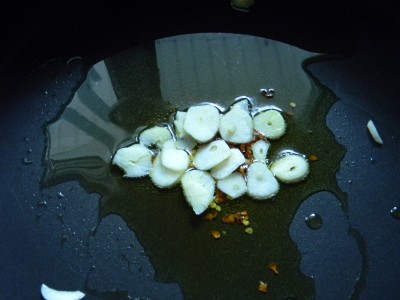
Add the olive oil, red pepper flakes, and fresh garlic to the hot skillet.  Saute for a couple of minutes.

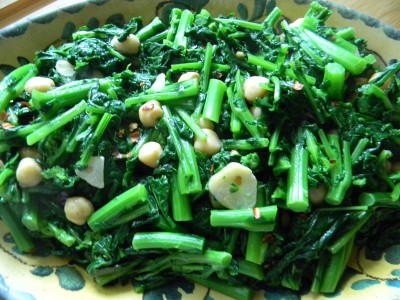
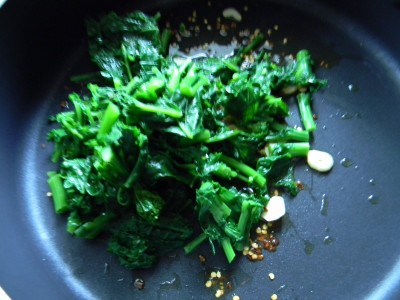
Add the drained rapini.  Season with kosher salt.  Saute for about 3 minutes.

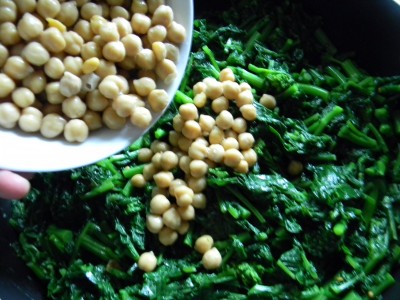
Add the garbanzo beans and cook another 3-4 minutes.  Serve immediately with a wedge of fresh lemon.  Healthy and delicious!

Spicy Rapini with Olive Oil and Garlic

1 bunch fresh rapini
1 teaspoon salt
1 tablespoon olive oil
1/4 teaspoon red pepper flakes
2 large cloves garlic, sliced
1 14 ounce can garbanzo beans, drained and rinsed
1-2 pinches of kosher salt

1)  Trim an inch off of the bottom of the rapini.  Put a large pot of water to boil on the stove, add 1 teaspoon of salt.
2)  Chop the rappini in one inch increments.  Submerge in cold water to soak and clean.  Drain.
3)  Add cleaned rapini to the boiling water.  Cook about 3 minutes.  While rapini is cooking, fill a large bowl with cold water and a handful of ice cubes.
4)  When rapini is done, remove with a slotted spoon and put into the ice water.  Drain well.
5)  Heat a large skillet over medium-high heat.  Add olive oil, garlic, and red pepper flakes cook for a couple of minutes.  Add rapini and cook for about 3 minutes.  Add drained garbanzo beans and cook for an additiona 3 minutes.  Enjoy immediately.

Mother’s Day Makeover…..

For Mother’s Day, Ryan’s kindergarten class hosted a Mother’s Day Makeover……

The hour long celebration consisted of a concert filled with singing and dancing and just being silly….

The package also included special pampering with makeup application and hair brushing.

And artwork from my favorite artist in the world.  Ryan writes that his Mom is good at cooking:-)   The celebration was topped off with an oreo cookie, a mini cupcake, some m & m’s and a nice glass of fruit punch.  It really doesn’t get better than that!

I hope you all enjoy a wonderful day of love and appreciation!

Angie

Grind Your Own Meat…..

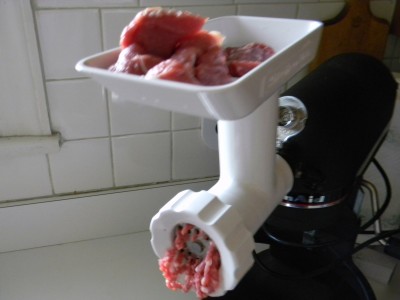
Like most people, I use a good amount of ground meats in my cooking.  When I make gyros I use part lean ground beef, ground turkey, and ground lamb.  I have yet to find a very lean commercially ground lamb.  I thought why not buy a boneless leg of lamb, trim it, cut it into 1″ cubes, and grind it myself! 

I was given this fabulous Kitchen Aid meat grinder attachment by my Mom.  Today I used it for the first time.  One word: FABULOUS!  This attachment was really simple to use, the attachment goes on the mixer in less than a minute!  The process is a little slow, but well worth the wait.  Once the lamb was ground there was no comparison as to how very lean it looked compared to the pre-ground lamb I’ve purchased in the past.  If you don’t have a meat grinder, you can also use the food processor, it works great too.  Simply put the 1″ cubes of lean meat in the food processor with the blade attachment.  Pulse several times until you have an evenly ground consistency.  Very easy.

I got to thinking about all the things I can make with my grinder, or even my food processor for that matter.  Who doesn’t love Italian sausage?  It’s very flavorful but loaded with saturated fat.  Whole Foods makes a fantastic Italian chicken sausage but it’s $6.99/lb!  After enjoying their version, I made my own chicken sausage with boneless, skinless and trimmed chicken thighs….most excellent!  Buy lean roasts when they’re on sale and enjoy lean and delicious ground beef.  Great for homemade meatballs and meatloaf…… 

Well, I think  I’ve found my next inspiration.  As our economy continues to be less wallet friendly,  I’m going to be working on recipes for meats we can grind in our own kitchens.  Inexpensive,  lean, and healthy meats that will go a long way and will stretch your food dollars.  

Have a great evening!

Angie

Wondering Where I’ve Been?

Good Morning!

Geeze, my regular routine has been turned up a couple of notches.  I’ve got a senior who will soon be going to prom, graduating high school, and going for college orientation (I can’t believe it!) My two other boys are preparing for the long awaited summer break!  Anyway, tons of stuff going on in my house!

I’ve been feeling like I’ve been neglecting one of my kids not writing on my blog!  I promise new posts are coming soon.

I’m having a fabulous new grill delivered tomorrow, not sure when, have to be home the entire day!  I’ll have plenty to cook up and post there as well. 

The sun appears to be trying to come out!  Could use some sunshine!

Have a wonderful day!

Angie

Oven Roasted Dijon Potatoes….

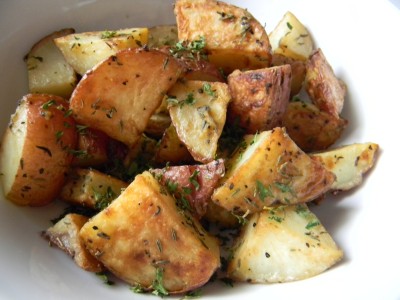
These remind me of my Mom’s pan fried potatoes kicked up a bit.   Enjoy these crispy oven roasted potatoes with Grilled Pork Tenderloin with Apricot Glaze, a perfect flavor combination.  All ingredients go into a bowl and get tossed together, then into the oven, super easy.

Here we go…..

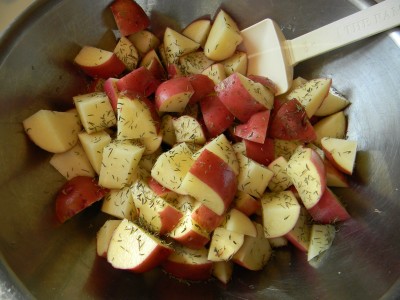
Preheat oven to 375′.  Cut about 2 pounds of red potatoes into bite size pieces and place in a large mixing bowl.  Add 1/2 teaspoon of dried thyme.

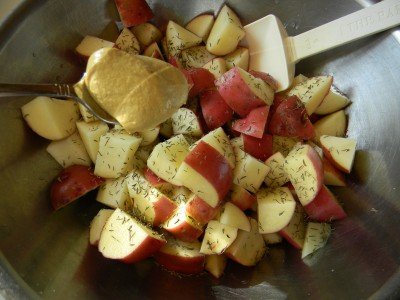
Add 1 tablespoon of dijon mustard….

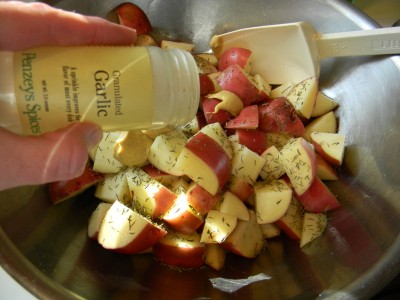
Add 1/2 teaspoon granulated garlic powder….

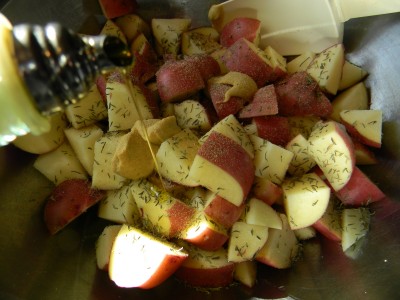
Add 1 tablespoon olive oil.

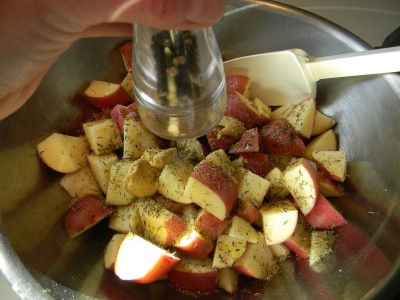
Add 1/2 teaspoon salt and about 5 grinds of fresh ground pepper.  Toss to thoroughly coat.  Place on a non stick foil lined cookie sheet, try not to crowd.  Bake for 35-40 minutes or until nicely browned.  Give the potatoes a turn after about 20 minutes of baking.  Serve immediately.

Oven Roasted Dijon Potatoes

2 lbs. red potatoes cut into bite size pieces
1/2 teaspoon dried thyme
1 tablespoon dijon mustard
1/2 teaspoon granulated garlic powder
1 tablespoon olive oil
1/2 teaspoon kosher salt
1/4 teaspoon fresh ground black pepper

1)  Preheat oven to 375′.  Non stick foil line a cookie sheet, set aside.

2)  Place cut potatoes, thyme, dijon mustard, garlic powder, olive oil, salt, and black pepper into a large mixing bowl.  Toss to thoroughly coat.  Spread over the foil lined cookie sheet.  Place in the oven.  After 20 minutes, give them a turn.  Bake another 20 minutes or until nicely browned.  Serve immediately.

Our Easter…..

Easter Sunday was a beautiful, sunny day.   My lovely Mother in Law Patricia treated us to Easter brunch, so good!

My three sons.  Chris, Ryan, and Jack.  Ryan is pleased as punch for his Easter basket, but also for being sandwiched between his two awesome brothers!

I hope you had a lovely Easter!

Angie

Grilled Pork Tenderloin with Apricot Ginger Glaze…..

Make this simple dish any night of the week.  Pork tenderloin usually comes 2 per package.  They weigh between 1 and 1 1/2 lbs. per tenderloin.  You’ll want to trim off any excess fat and sinew (fibrous connective tissue).  Using a sharp knife, run closely under the tissue to remove.

Coat the tenderloins with 1 tablespoon of olive oil and season with salt and pepper.  Cook on the grill on medium-high heat for about 25 minutes.  Top with the apricot ginger sauce for an additional  5-8 minutes of cooking.  Keep a close watch as the sugar in the jam can easily burn.

Here we go….

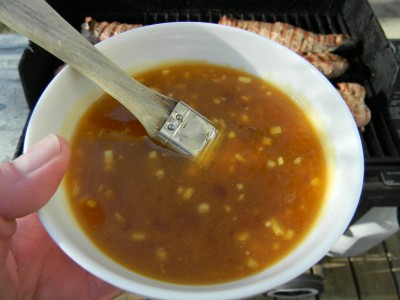
Make the simple sauce.  1 cup apricot preserves, 1/4 cup rice vinegar, 2 tablespoons minced ginger root,  1 tablespoon toasted sesame oil, 1 clove crushed garlic, and  1/8 teaspoon red pepper flakes.  Mix well and divide in half.  You will use half while cooking and half when serving.  Preheat the grill.  Cook the tenderloins on medium-high for about 25 minutes.

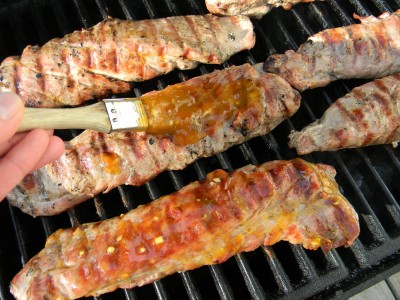
Reduce the heat on the grill to medium-low.  Generously baste the tenderloins with the glaze.  Be sure to watch carefully as the sugars in the glaze can easily burn. Cook another 5-8 minutes.  Allow to rest lightly covered with foil for 15 minutes before slicing.

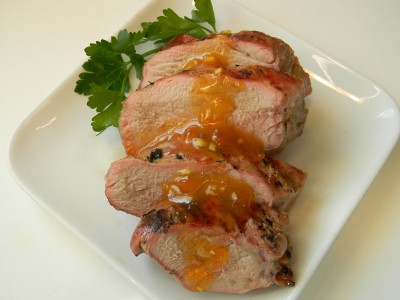
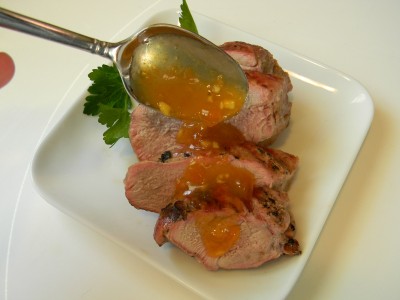
Thinly slice on a diagonal and top with extra apricot/ginger sauce.  Serve with steamed rice and stir fry sugar snap peas.  Enjoy!

Grilled Pork Tenderloin with Apricot Ginger Glaze

1 1/2-2 lbs. pork tenderloin
1 tablespoon olive oil
1/2 teaspoon salt
1/4 teaspoon black pepper
1 cup apricot or peach preserves
1/4 cup rice vinegar
2 tablespoons finely minced ginger root
1 tablespoon toasted sesame oil
1 clove crushed garlic clove
1/8 teaspoon crushed red pepper flakes

1)  Preheat the grill.  Trim the tenderloins and coat with olive oil.   Season with salt and pepper.

2)  In a small bowl, add the preserves through the red pepper flakes, mix well.  Divide in half.  You will use half to glaze the tenderloin on the grill and half for serving.

3)  Once the tenderloins have been cooking for about 25 minutes and have good color, reduce the heat to medium low and generously baste with the sauce.  Watch carefully as the sugars in the glaze can easily burn.  Cook for another 5-8 minutes, continue to baste.  Serve with extra sauce.  Serves 4.